Transform Your Retired Gaming Rig into a Powerful Homelab NAS
Introduction
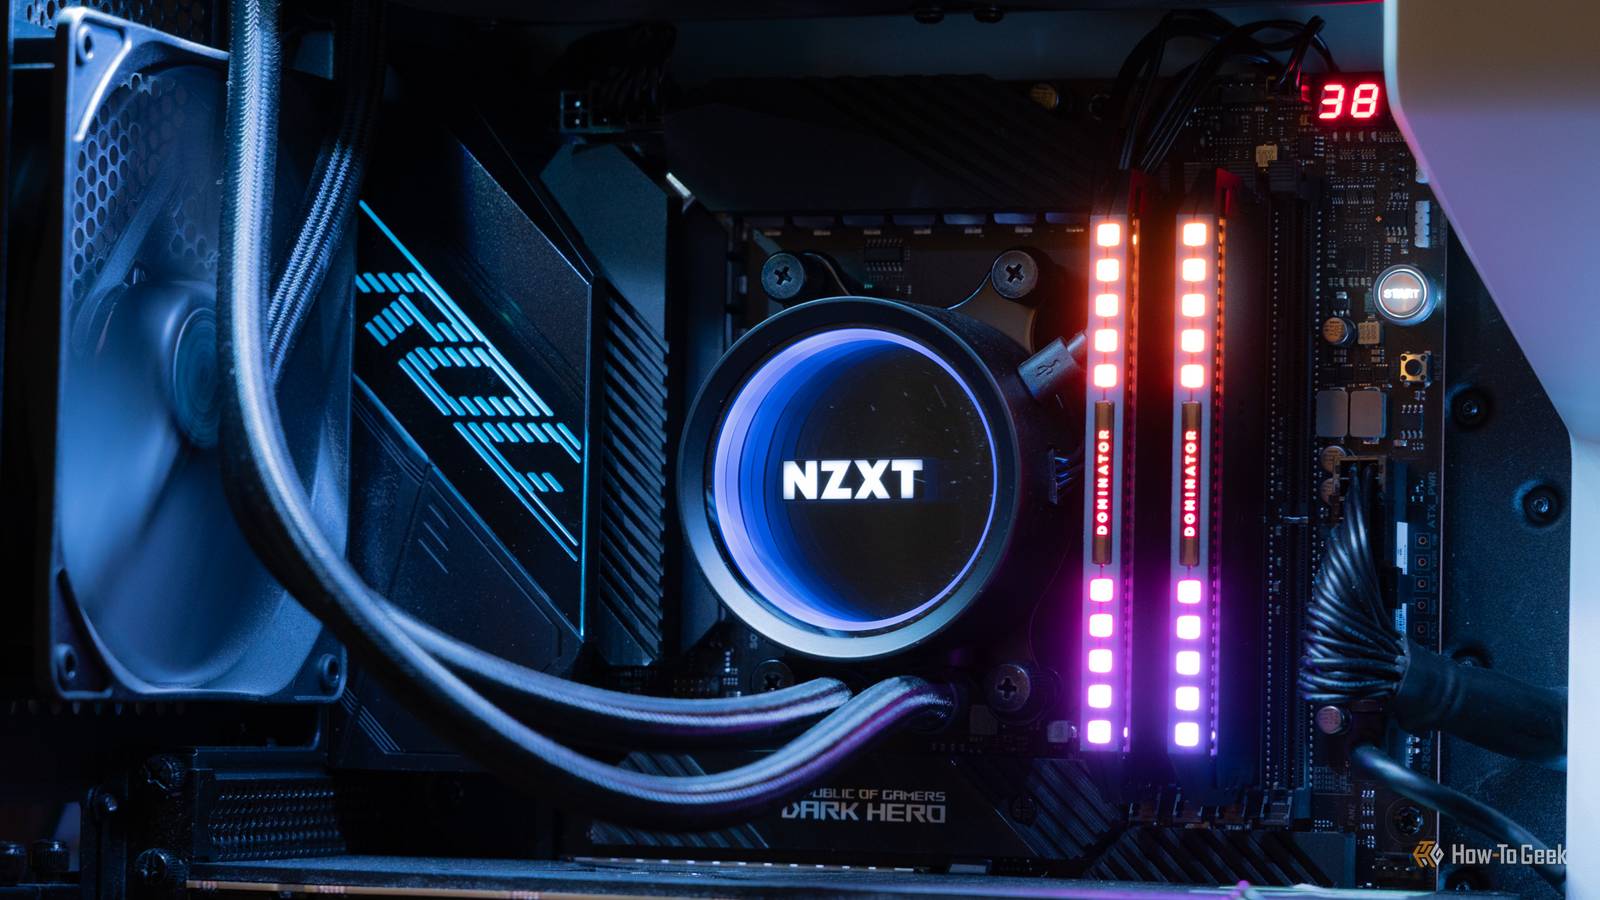
Do you have an old gaming PC collecting dust in the corner of your office? You're not alone. Many of us upgrade our rigs every few years, leaving perfectly capable hardware behind. Instead of buying a dedicated NAS (Network Attached Storage) device—which can cost hundreds or even thousands of dollars—you can repurpose that old gaming desktop into a full-featured homelab NAS. This guide will show you exactly how to do it, step by step. By the end, you'll have a custom, powerful storage server that can serve files, run media servers, and host backups—all while saving money and reducing e-waste.

What You Need
- An old gaming PC (at least 4GB RAM, a multi-core CPU, and some SATA ports—ideally with a case that can hold multiple drives)
- Storage drives (a mix of SSDs and HDDs; recommend at least two for redundancy)
- A USB flash drive (8GB or larger) to install the NAS operating system
- Monitor and keyboard (temporarily for initial setup)
- Network cable (Ethernet) to connect the NAS to your router
- Optional: ECC RAM if your motherboard supports it (helps prevent data corruption)
- Software: Choose one NAS OS—TrueNAS Core, Unraid, OpenMediaVault, or XigmaNAS. Each has a learning curve but is free or low-cost.
Step-by-Step Guide
Step 1: Prepare the Hardware
Before you start, open the old gaming PC and give it a thorough cleaning. Dust can cause overheating and shorten component life. Remove any unnecessary expansion cards (like old GPUs) unless you plan to use them for transcoding (e.g., Plex). Next, decide on your drive configuration. For a basic NAS, you'll want at least two hard drives of the same size to set up a mirrored pool (RAID 1) for redundancy. If you have free SATA ports, add an SSD for caching or as a boot drive. Connect all drives, ensuring proper power and data cables. Finally, boot the PC and enter the BIOS to enable AHCI mode for all SATA ports and disable any unnecessary features like onboard audio or unused USB controllers to save power.
Step 2: Install the NAS Operating System
Download your chosen NAS OS (we'll use TrueNAS Core as an example) and write it to a USB drive using a tool like Rufus or BalenaEtcher. Insert the USB into your old gaming PC, boot from it, and follow the installation wizard. When prompted, select the drive where you want to install the OS (usually a dedicated small SSD, or you can use a partition on an HDD). The installation will take a few minutes. Once complete, remove the USB and reboot. The system will now boot into the NAS OS. Note the IP address displayed on the screen—you'll need it to access the web interface from another computer.
Step 3: Configure Storage Pools
Open a web browser on your main computer and type the NAS IP address. Log in with the default credentials (check the OS documentation). The first thing you should do is create a storage pool. In TrueNAS, go to Storage > Pools > Add. Select your drives (e.g., two 4TB HDDs) and choose a layout like Mirror (RAID 1) for data redundancy. Name the pool something meaningful (e.g., "MediaPool"). After creation, the pool will appear in the dashboard. Next, create a dataset within the pool for your shared folders—like "Movies," "Documents," or "Backups." Set appropriate permissions (e.g., allow sharing via SMB for Windows, NFS for Linux).
Step 4: Set Up Network Shares
With your datasets ready, it's time to make them accessible over your home network. For Windows clients, enable SMB (Server Message Block) sharing. In TrueNAS, go to Sharing > Windows Shares (SMB) and click Add. Select the dataset, give it a name, and configure access permissions (e.g., allow guest access or create user accounts). For macOS and Linux, you can enable AFP or NFS shares similarly. Once created, you can map the share as a network drive on your computer. On Windows, open File Explorer, right-click "This PC," select "Map network drive," and enter \\NAS-IP\sharename. Now you can copy files to and from the NAS as if it were a local disk.
Step 5: Enable Additional Services (Optional but Powerful)
Your old gaming PC can do much more than just file storage. Turn it into a media server by installing the Plex plugin (available in TrueNAS). Configure it to point to your Movies and TV Shows datasets, and you can stream content to any device on your network. Other useful plugins include Nextcloud for personal cloud storage, Transmission for torrent download, and a backup agent for automatic backups of your main PC. Also consider setting up a VPN server (like WireGuard) to access your NAS securely from outside your home. Each service runs in its own jail or container, keeping the NAS core stable.
Step 6: Optimize Power Usage and Cooling
An old gaming PC may be more power-hungry than a dedicated NAS. Reduce electricity costs by adjusting power settings. In the BIOS, enable CPU power-saving features (C-States, SpeedStep). In the NAS OS, you can set drives to spin down after a period of inactivity (though this may reduce lifespan if constantly parking). Install a simple script to turn off the system during off-hours if not needed. Also, check CPU temperature under load; if it's high, consider replacing the thermal paste or adding a low-profile cooler. For noise reduction, swap out the old GPU fan for a passive heatsink if you don't need GPU acceleration.
Step 7: Secure Your NAS
Finally, secure the server from unauthorized access. Change the default admin password immediately. Disable root SSH login and use key-based authentication or a strong password. Create separate user accounts for family members with limited permissions. Keep the NAS OS and all plugins updated. Optionally, configure a firewall on the NAS to allow only necessary ports (e.g., 445 for SMB, 32400 for Plex). If you plan to access the NAS from the internet, consider using a reverse proxy like Nginx or a VPN tunnel rather than exposing ports directly.
Tips for a Smooth Homelab NAS
- Use enterprise-grade drives if possible – They are designed for 24/7 operation and have longer warranties. Western Digital Red or Seagate IronWolf are good choices.
- Don't skip backups – Even with RAID, your data can get corrupted. Use the 3-2-1 rule: three copies, two different media, one offsite. The NAS itself can be one leg, but store critical data elsewhere too.
- Monitor your NAS – Set up email alerts for drive failures, high temperatures, or low disk space. Tools like Grafana can give you a beautiful dashboard.
- Consider a UPS – A small uninterruptible power supply protects your NAS from sudden power loss, which can corrupt file systems. You can even configure the NAS to shut down gracefully when battery is low.
- Start small – You don't need to fill all drive bays immediately. Begin with two drives in a mirror, then expand as needed. Your old gaming PC's case may have room for only 2-3 drives internally; you can add external USB drives later for backup purposes.
- Learn the command line – While NAS GUIs are good, dropping to the terminal can help you troubleshoot or automate tasks. TrueNAS uses FreeBSD, so basic Unix commands will serve you well.
With these steps and tips, your retired gaming rig will become a reliable, high-performance homelab NAS that rivals commercial units costing hundreds more. Plus, you'll gain invaluable hands-on experience with storage, networking, and server management. Happy building!