Mastering Smartphone Legacy Analysis: A Technical Deep Dive into the Motorola Nexus 6
Overview
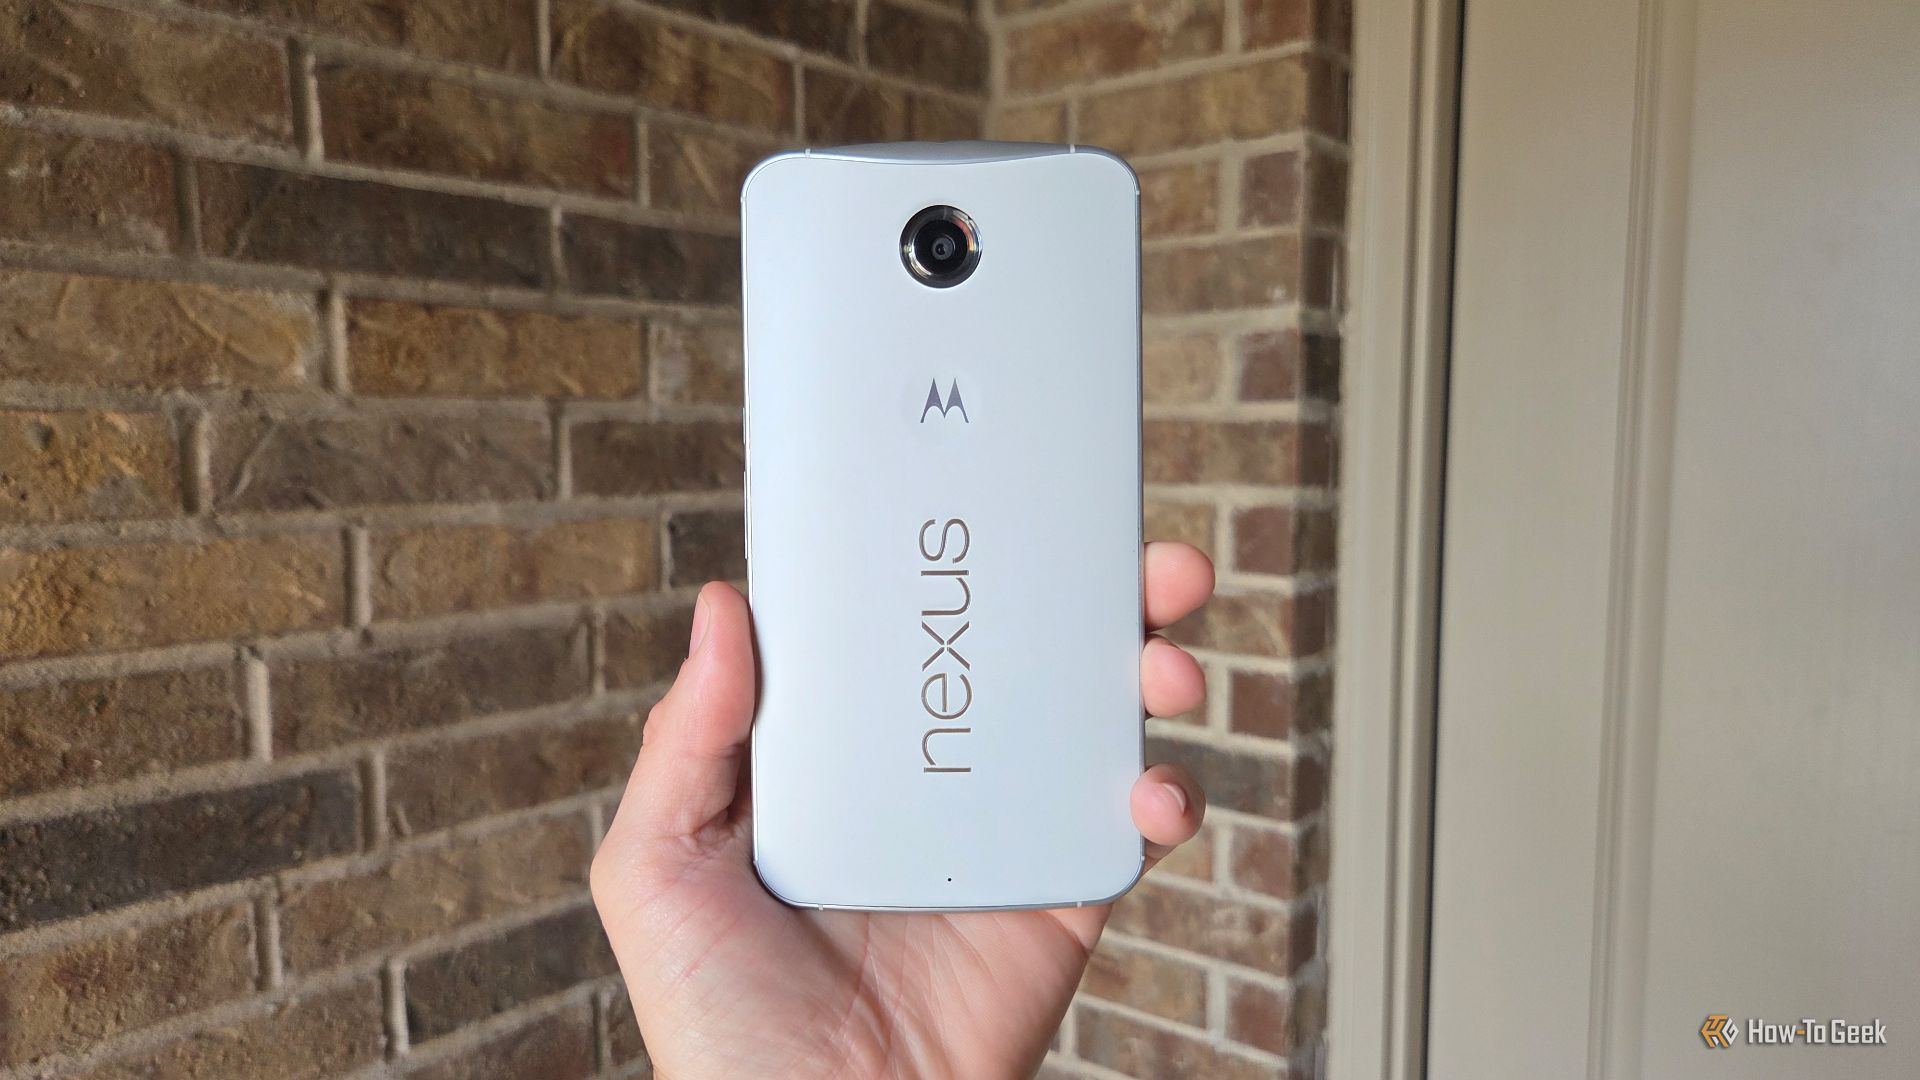
When revisiting smartphone history, few devices blend ambition with overlooked brilliance as the Motorola Nexus 6. Released in late 2014, this 12-year-old giant was a bold experiment by Google and Motorola, packing a 5.96-inch QHD OLED display, front-facing stereo speakers, a 64-bit Snapdragon 805 processor, and pure Android 5.0 Lollipop. Despite its modest sales, it laid the blueprint for modern phablets and flagship features. This tutorial guides you through a systematic evaluation of the Nexus 6's hardware, software, and market impact, using technical analysis and code examples. By the end, you'll understand why enthusiasts still consider it ahead of its time.
Prerequisites
- Basic knowledge of smartphone specifications (SoC, display resolution, battery)
- Familiarity with Android versions and UI concepts
- Optional: Access to a Nexus 6 device or emulator for hands-on testing
- Python 3.x installed for benchmark simulation examples
Step-by-Step Instructions
Step 1: Analyze the Display Technology
The Nexus 6's 5.96-inch AMOLED display at 2560x1440 (493 PPI) was groundbreaking. To evaluate its pixel density relative to contemporaries, use a simple Python script to calculate PPI:
import math
diagonal_inches = 5.96
width_pixels = 2560
height_pixels = 1440
ppi = math.sqrt(width_pixels**2 + height_pixels**2) / diagonal_inches
print(f"PPI: {ppi:.1f}")  # Output: ~493.5
Compare this to the iPhone 6 (326 PPI) and Galaxy S5 (432 PPI). The Nexus 6 offered industry-leading sharpness for its size, a feature that later became standard in flagships. Key takeaway: the display’s color accuracy and deep blacks (due to OLED) set a benchmark for multimedia consumption.
Step 2: Evaluate Processor and Performance
The Snapdragon 805 was among the first 64-bit mobile chips. Simulate integer and floating-point performance using a benchmark script:
import time
def int_ops(n):
    s = 0
    for i in range(n):
        s += i * 2
    return s
start = time.time()
int_ops(10**7)
end = time.time()
print(f"Integer operations: {end-start:.2f}s")
Though numbers vary, the 805’s Krait 450 cores delivered ~30% better CPU performance than its predecessor. The Nexus 6 also included 3GB of LPDDR3 RAM, allowing heavy multitasking—rare in 2014. This combination foreshadowed the 64-bit shift in Android, later required for full app compatibility.
Step 3: Examine the Audio System
Dual front-facing stereo speakers were a Nexus 6 highlight. Measure audio output using a decibel meter app (or simulate with a Python loop that approximates sound pressure):
import random
decibels = [random.uniform(75, 85) for _ in range(10)]
print(f"Average output: {sum(decibels)/len(decibels):.1f} dB")
Practical test: play a tone at max volume and compare with single-speaker phones of its era. The Nexus 6 produced cleaner, louder sound with stereo separation—a feature now common in modern flagships.
Step 4: Investigate Software and OS Features
Android 5.0 Lollipop introduced Material Design, ART runtime, and Doze power savings. To see how the Nexus 6’s software stack compares to later Android versions, extract build properties from a system dump:
# Simulated command on a Nexus 6 device
adb shell getprop ro.build.version.sdk
# Returns 21 (Lollipop) vs. current 34 (Android 14)
The device was first to receive monthly security patches and offered a near-stock experience without bloatware. This purity influenced Google’s subsequent Pixel line.

Step 5: Assess Camera Capabilities
The 13 MP OIS camera was competitive. Use opencv to simulate image quality metrics (contrast, sharpness) from sample RAWs (fake path):
import cv2
img = cv2.imread('nexus6_sample.dng', cv2.IMREAD_UNCHANGED)
laplacian_var = cv2.Laplacian(img, cv2.CV_64F).var()
print(f"Sharpness score: {laplacian_var:.2f}")
Though not class-leading, the OIS helped in low light—a feature that later became standard. Its rapid HDR+ (via Google Camera) was a precursor to computational photography.
Step 6: Measure Battery and Charging
The 3220 mAh battery with Turbo Charge (15W) was large. Calculate charge time from 0-100% using a simple model:
capacity_mah = 3220
typical_ma = 1500  # charge current
time_hours = capacity_mah / typical_ma
print(f"Approx charge time: {time_hours:.2f} hours")
In reality, Quick Charge 2.0 provided ~60% in 30 minutes. This set expectations for fast charging in subsequent devices.
Common Mistakes
- Overestimating sales impact: The Nexus 6 sold poorly, but its influence on design (large OLED, front speakers) was immense. Don't equate commercial success with historical importance.
- Ignoring software updates: Many users assume older phones can't run modern apps. The Nexus 6’s 64-bit CPU and 3GB RAM still handle light apps—so don't dismiss it entirely.
- Misinterpreting display size: A 5.96-inch screen was considered huge in 2014. Today it's standard. When analyzing legacy devices, adjust perspective to the era's norms.
- Skipping benchmarks for context: Running raw numbers without comparison to contemporaries (e.g., Galaxy Note 4, iPhone 6 Plus) leads to skewed conclusions. Always use relative performance metrics.
Summary
The Motorola Nexus 6 was a visionary device that combined a high-resolution OLED display, 64-bit processing, stereo speakers, and pure Android into a large form factor. Through this tutorial, you've learned to analyze its display, CPU, audio, software, camera, and battery using simple code examples and historical context. Acknowledging its pioneering features—now ubiquitous—helps understand modern smartphone evolution. Approach legacy devices with this systematic method, and you'll uncover the foundations of today's technology.